

Watch the video or scroll down for step-by-step instructions.
Tiers: All
Step-by-step instructions
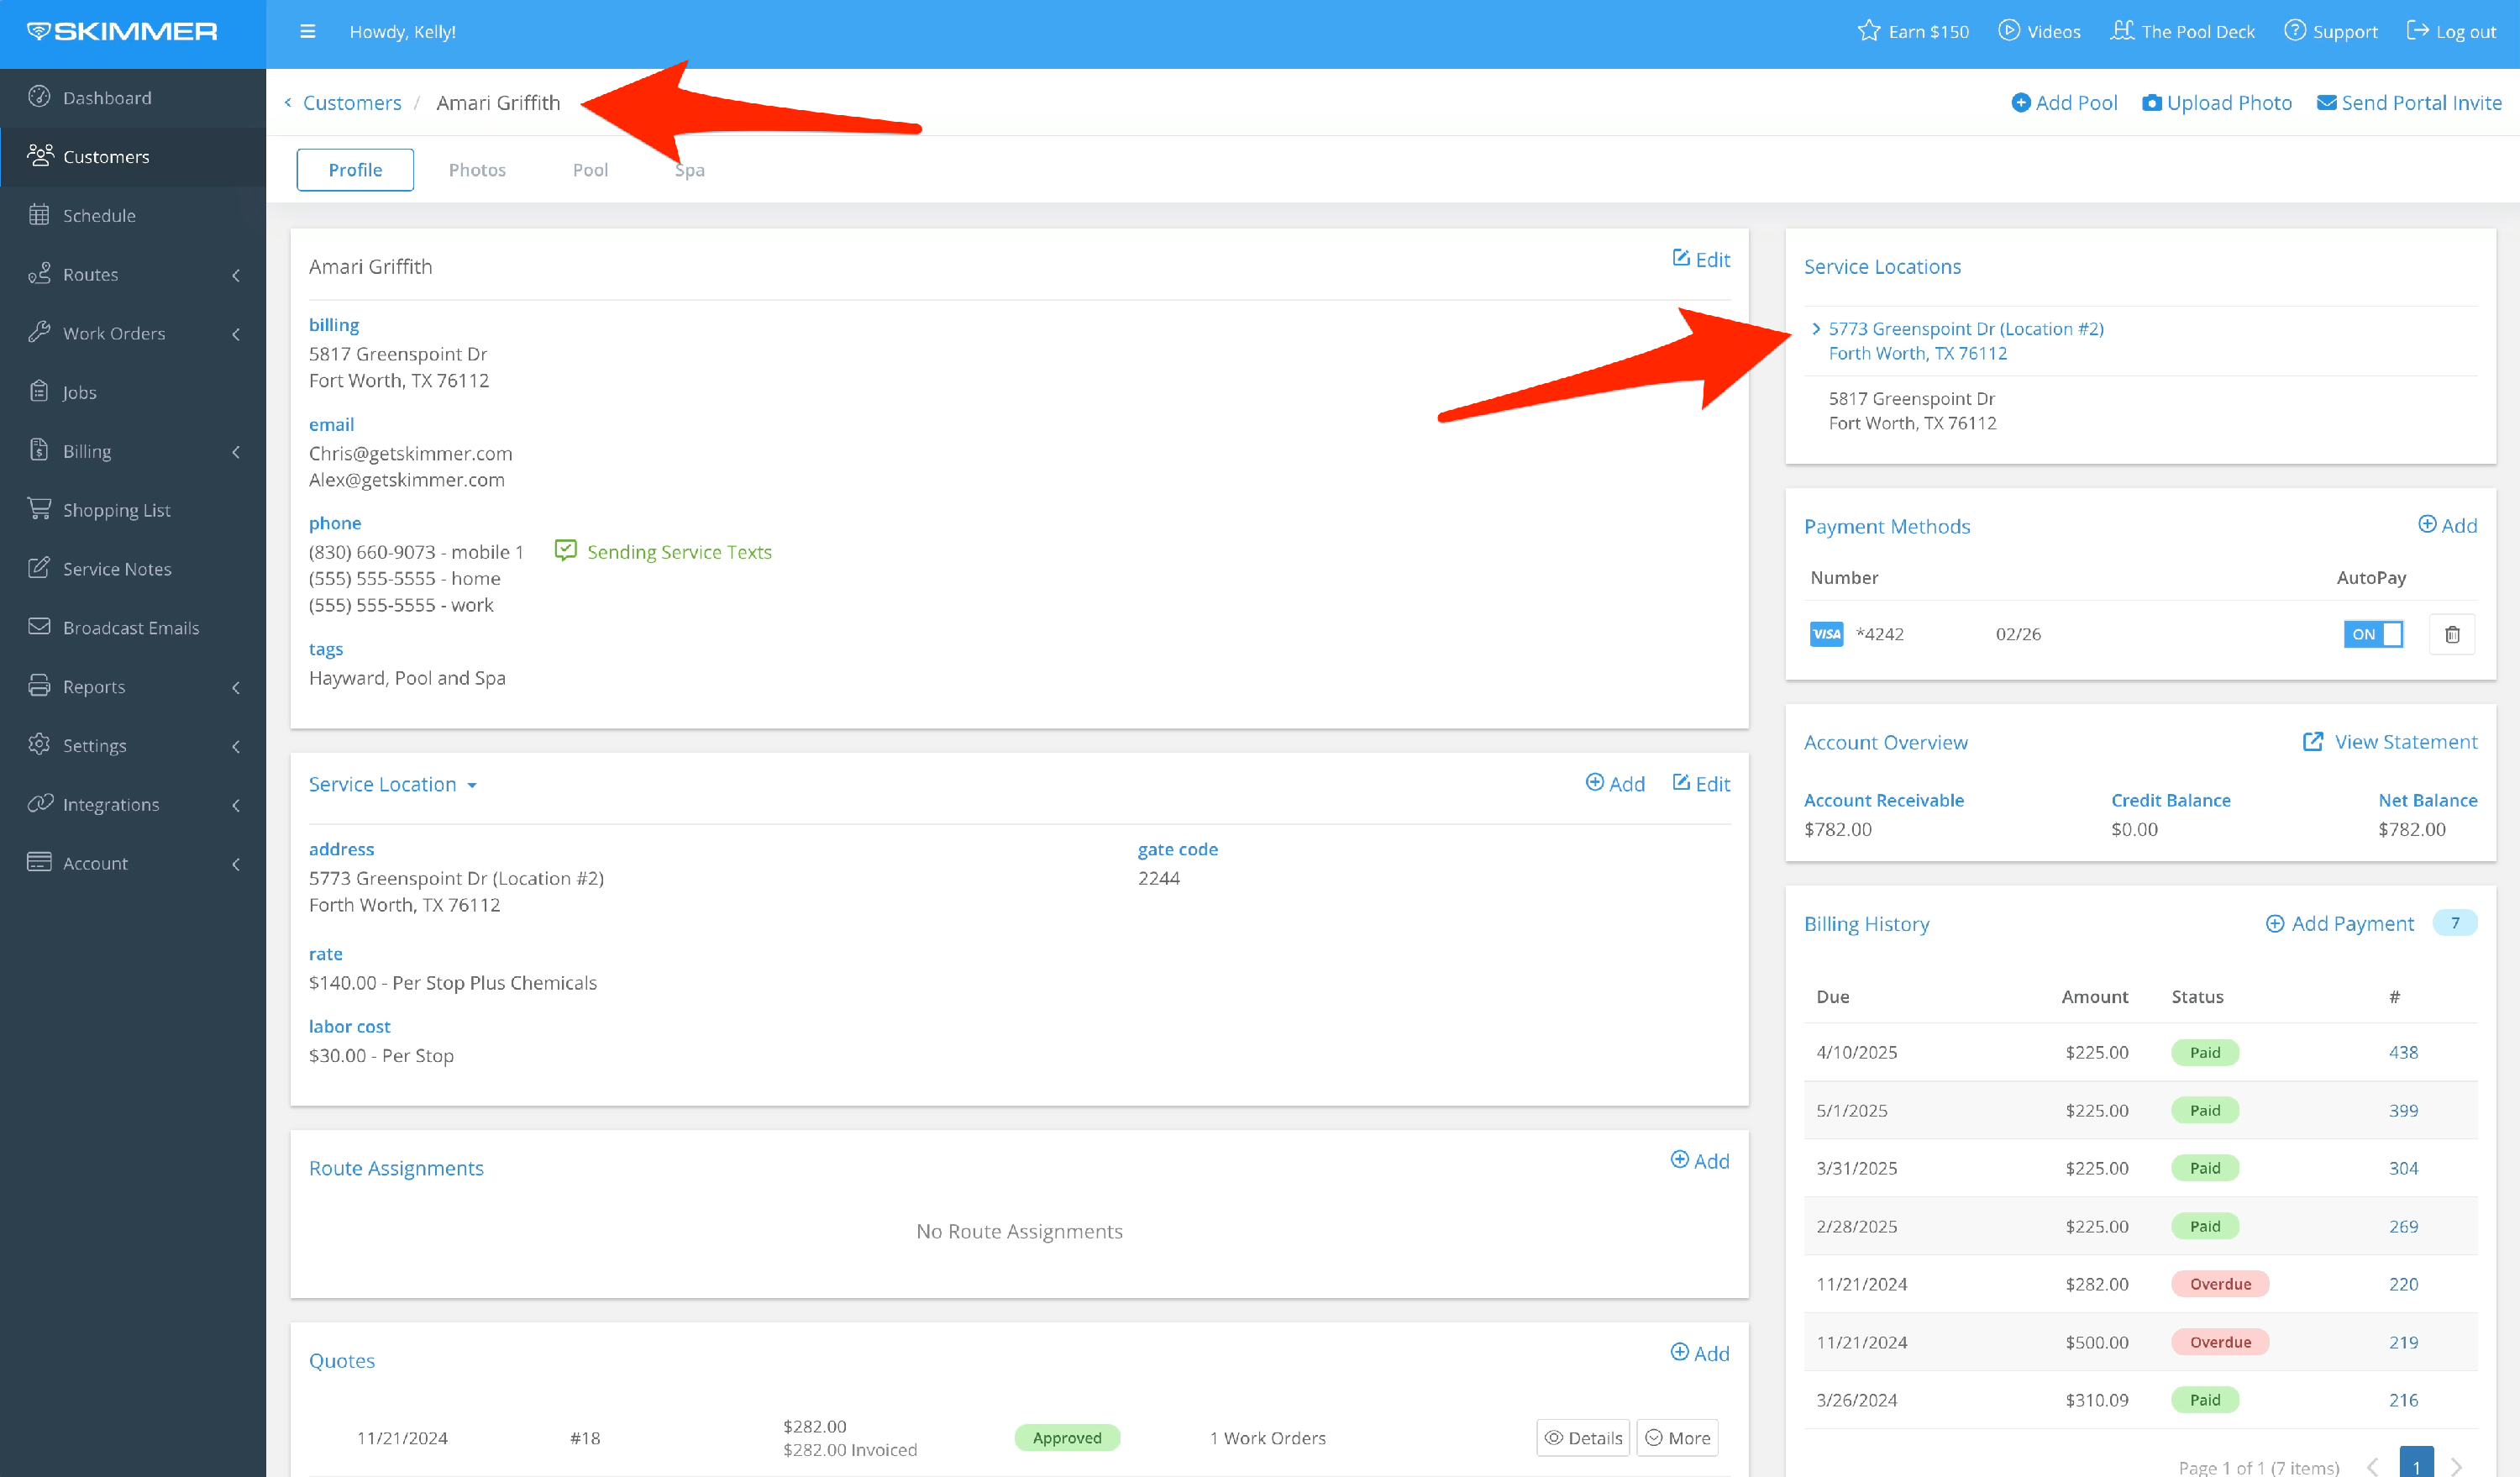
1. You may not always want a work order to recur the same way every time. Maybe you want the flexibility of putting the next one on a different day, or on a different tech’s schedule. Skimmer gives you work order reminders, which will let you know the next time is coming up so you can schedule it yourself. On the website customer’s tab, click into a customer’s profile. If they have more than one service location, make sure you choose the right one.
2. Scroll down Work Order Reminders. Click the Add button. Reminders function by attaching to a work order type that you want to repeat. Choose which type you want. The dropdown will show you all the work order types that have been set up with a recurrence period.
Tell Skimmer the most recent date this filter cleaning was performed. The system will use this date to count forward and remind you when the next service is due. If you want a different labor cost or service price than default , you can change them, and it will apply only to the job you create from this reminder. Otherwise, leave them at zero and the default will apply.
Click Save.


3. To change details, click Edit, make your changes and click Save.
You can delete the reminder by clicking the trash can icon and confirming.


4. Where is it going to appear? Go to Work Orders and then Reminders. You can see anywhere from one to twelve weeks ahead.

5. Schedule the next job by clicking the Create Work Order button. The next screen uses the reminder to auto-populate fields such as work order type, customer and service location. The work order type provides information like work needed, labor cost, and price if you’ve chosen the defaults. You can still change these here, and it will apply to this work order only.
Choose tech and service date, and click Save.


6. Navigating to that tech and day on the route, we see the work order is there. Once your tech completes the work order, the reminder will again count ahead whatever interval you’ve set, and remind you when it’s time to schedule the next one.

Last updated on June 2, 2025