

Watch the video or scroll down for step-by-step instructions.
Tiers: All
Step-by-step instructions
1. Select Settings > Customer Portal. 
2. Toggle feature ON.
3. Create a customized web address for your customer web portal. 
4. The Included in Portal section reviews which details are available to customers from the portal. 
5. Customize the portal invite email settings, or keep the default email settings as is.
6. Click Save. 
7. To send a test email to yourself, click Send Preview. 
8. To send an invite to a customer, select Customers > click the checkbox next to the customer name, and select Send Portal Invite.
- You can select customers in bulk or individually.

9. Click continue to confirm the selected customers.
10. Review the default message for Portal Invite Emails, and click Send.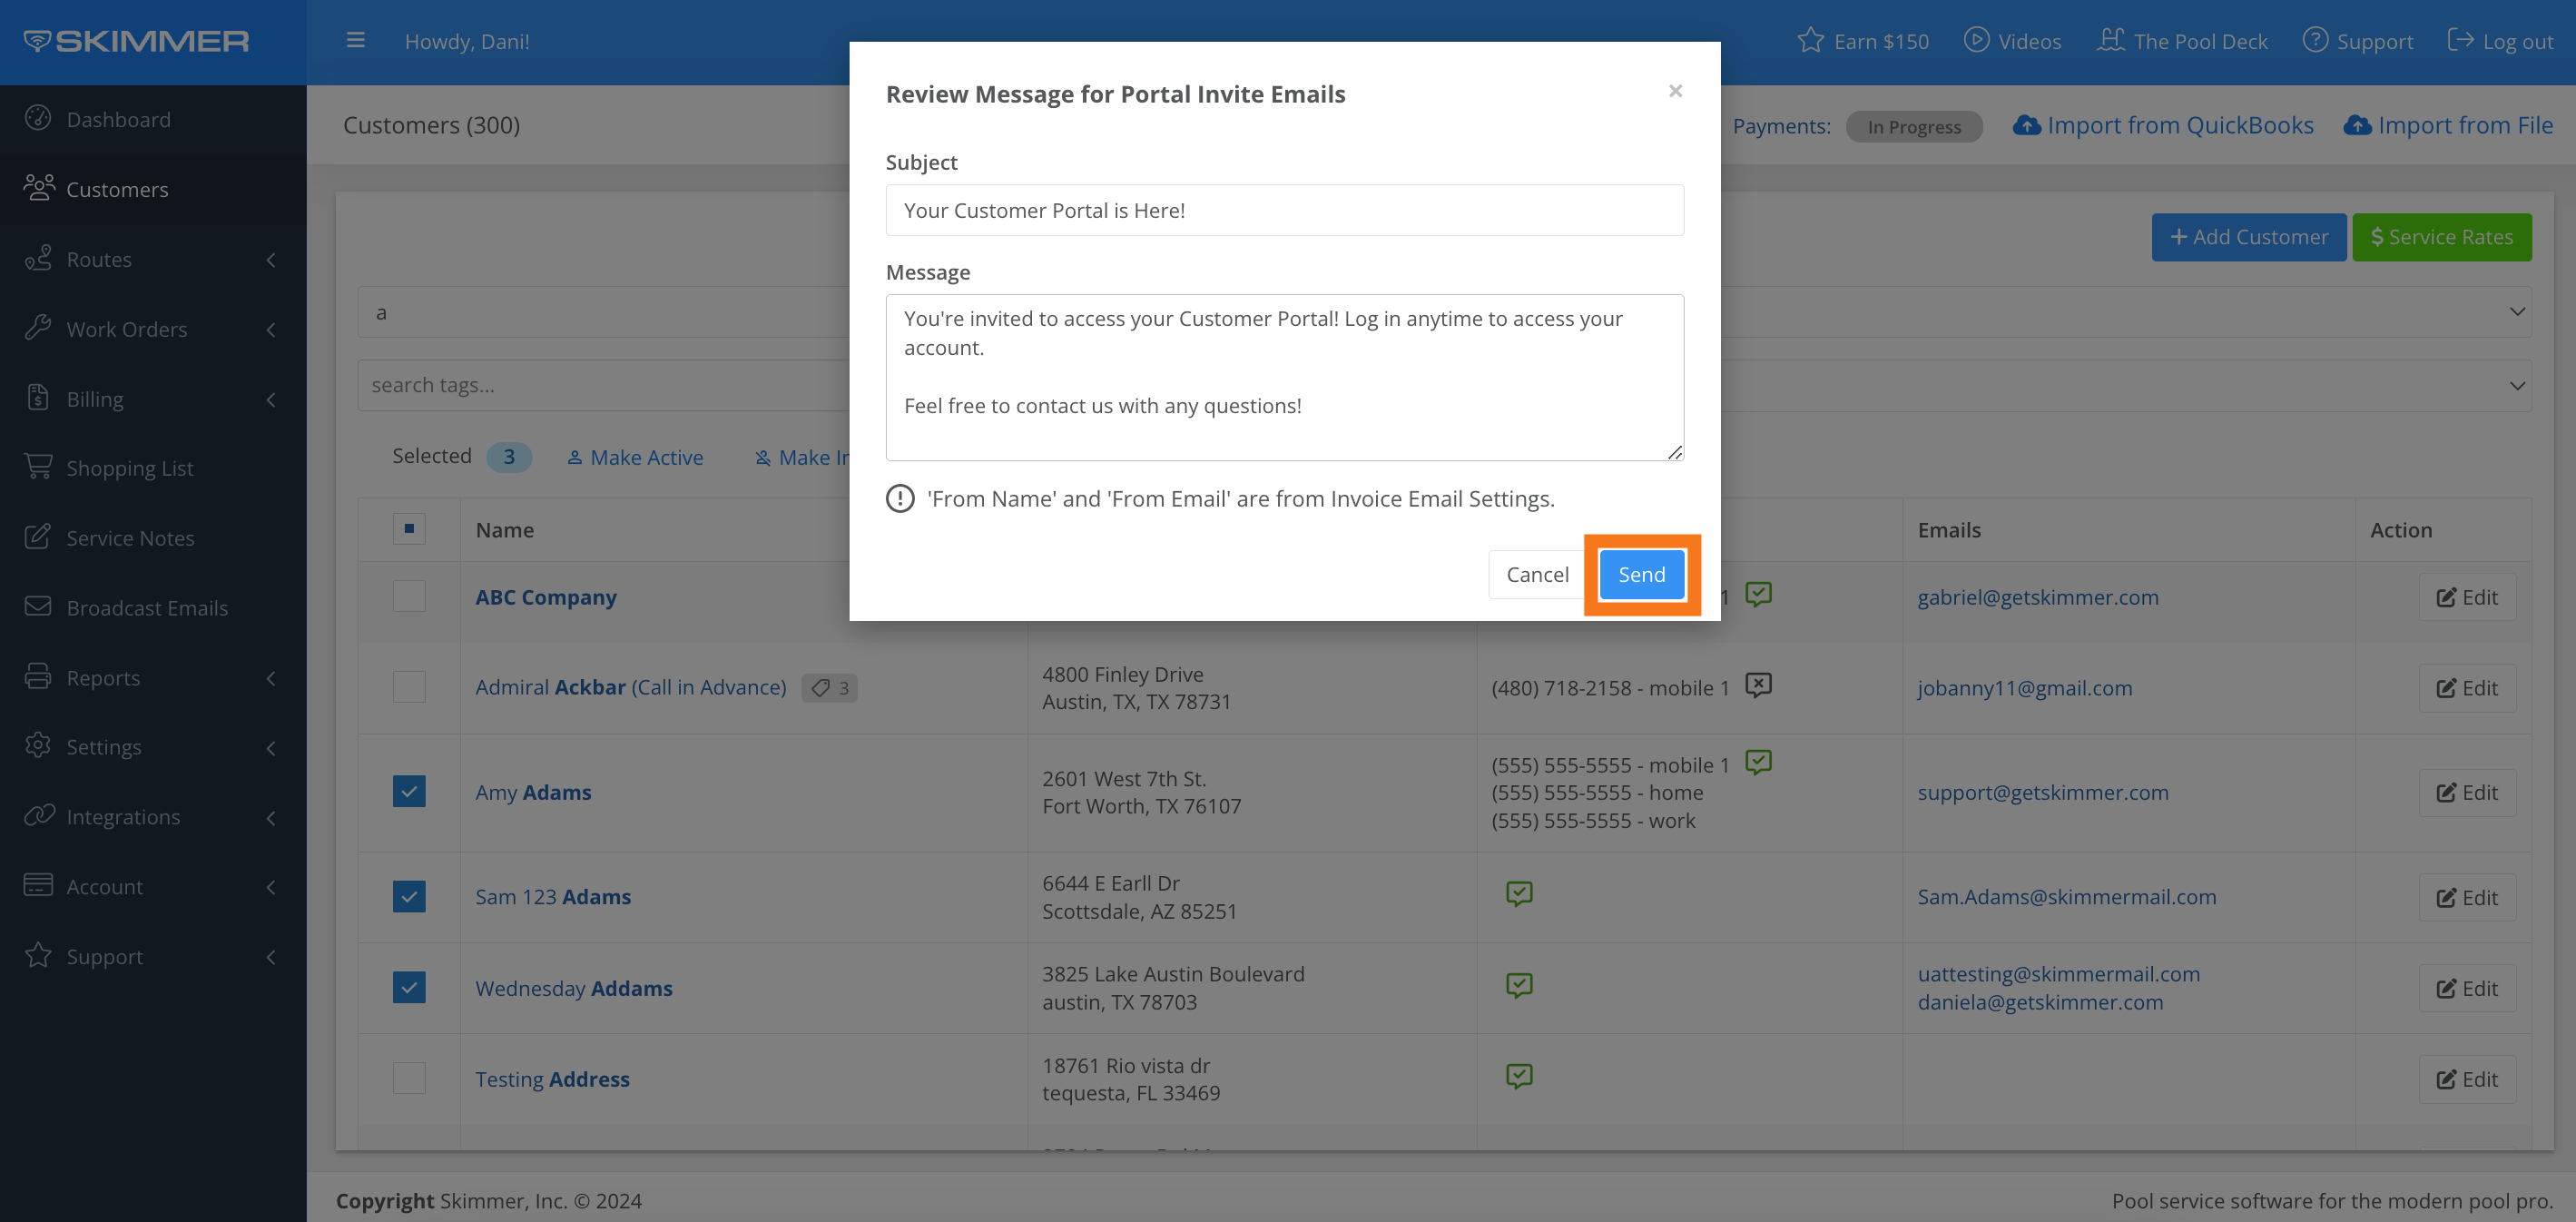
11. From the portal invite email, customers will click Create Login to create their account.
12. To get started, customers will first need to create a password.
- The username will be the email associated with their Skimmer customer profile.

13. Once signed up, customers will be able to log into their portal.
14. Customers can add a form of payment on file by selecting Payment Methods > Add > entering their form of payment, and clicking Save.


15. Selecting Invoices will allow customers to view their invoice(s). Customers can click on the dropdown bar to filter which invoices are shown.
If the customer does not have the Send Invoices checkbox marked under their email, the Invoice tab will not be displayed in their customer portal. 
16. Selecting Payments will allow customers to view their paid invoice(s). Customers can click on the dropdown bar to filter which paid invoices are shown.

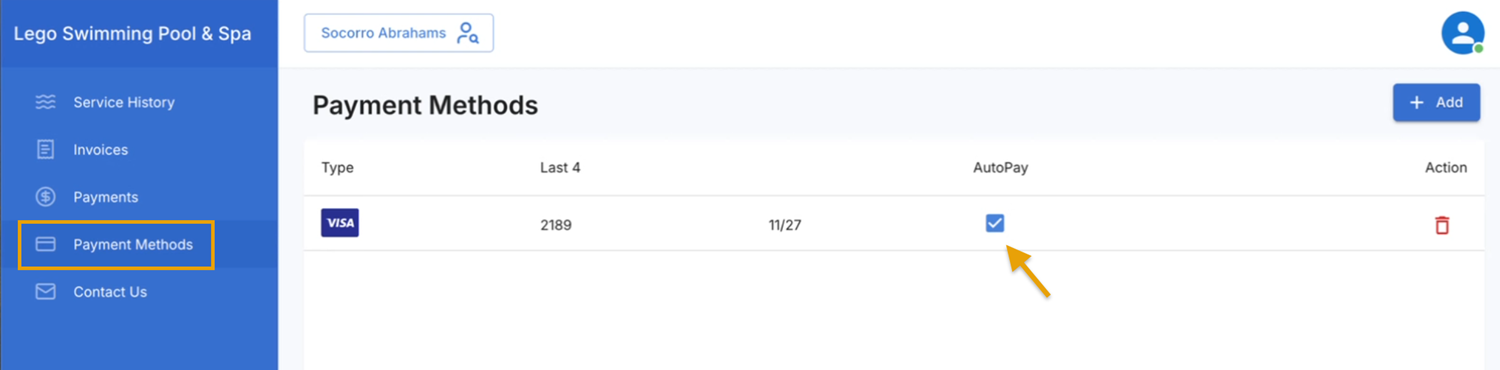
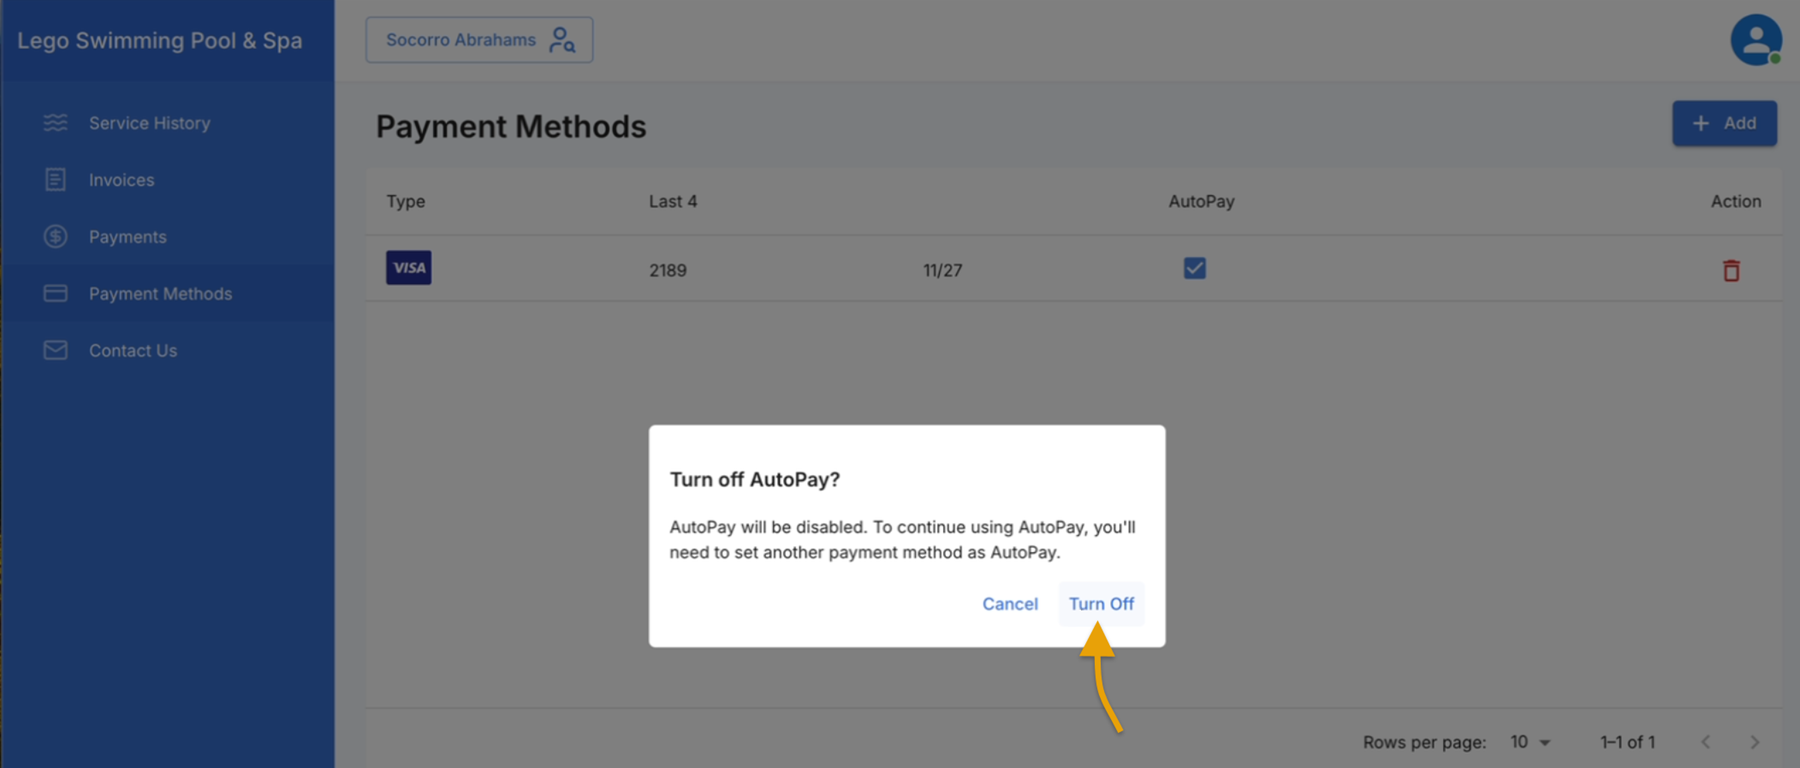
17.Customers can activate, or opt out of Autopay with this checkbox.
18. Selecting Contact Us will allow customers to reference your company’s contact information.