
Watch the video or scroll down for step-by-step instructions.
Tiers: All
Step-by-step instructions
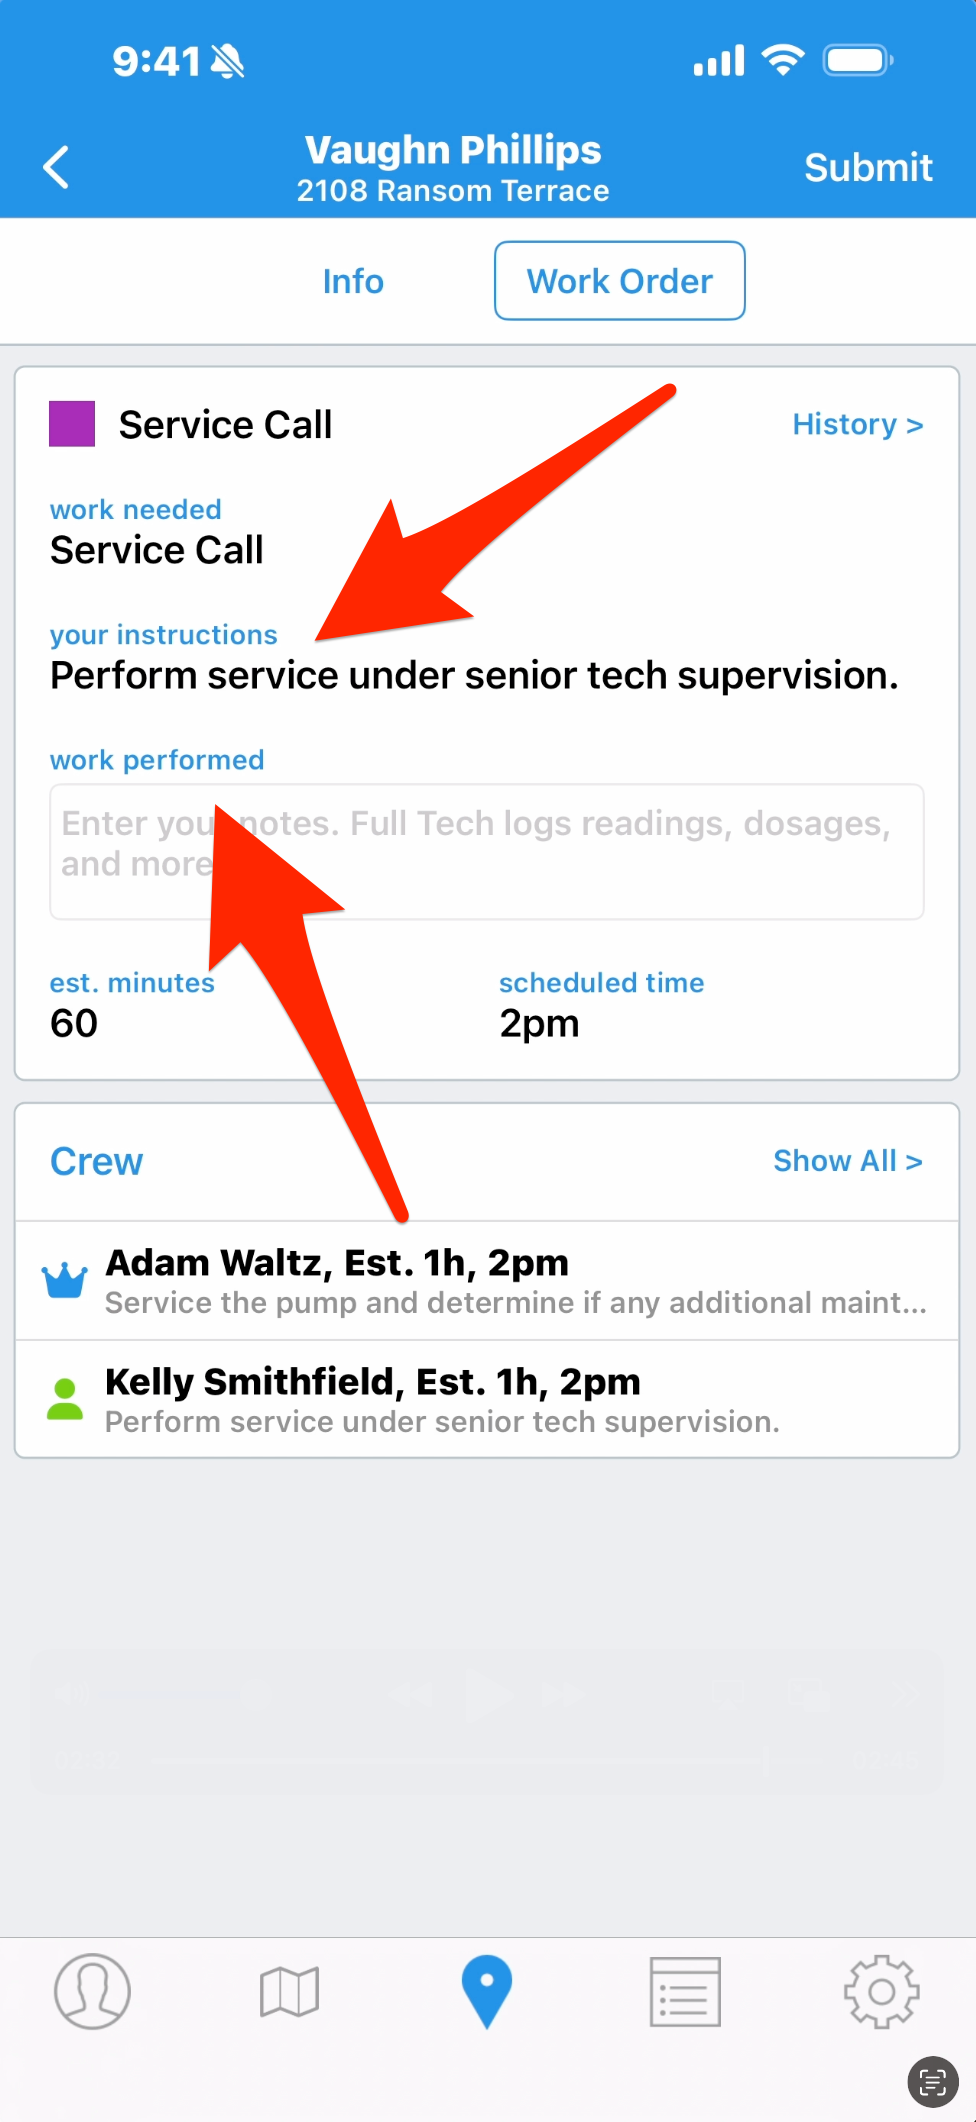
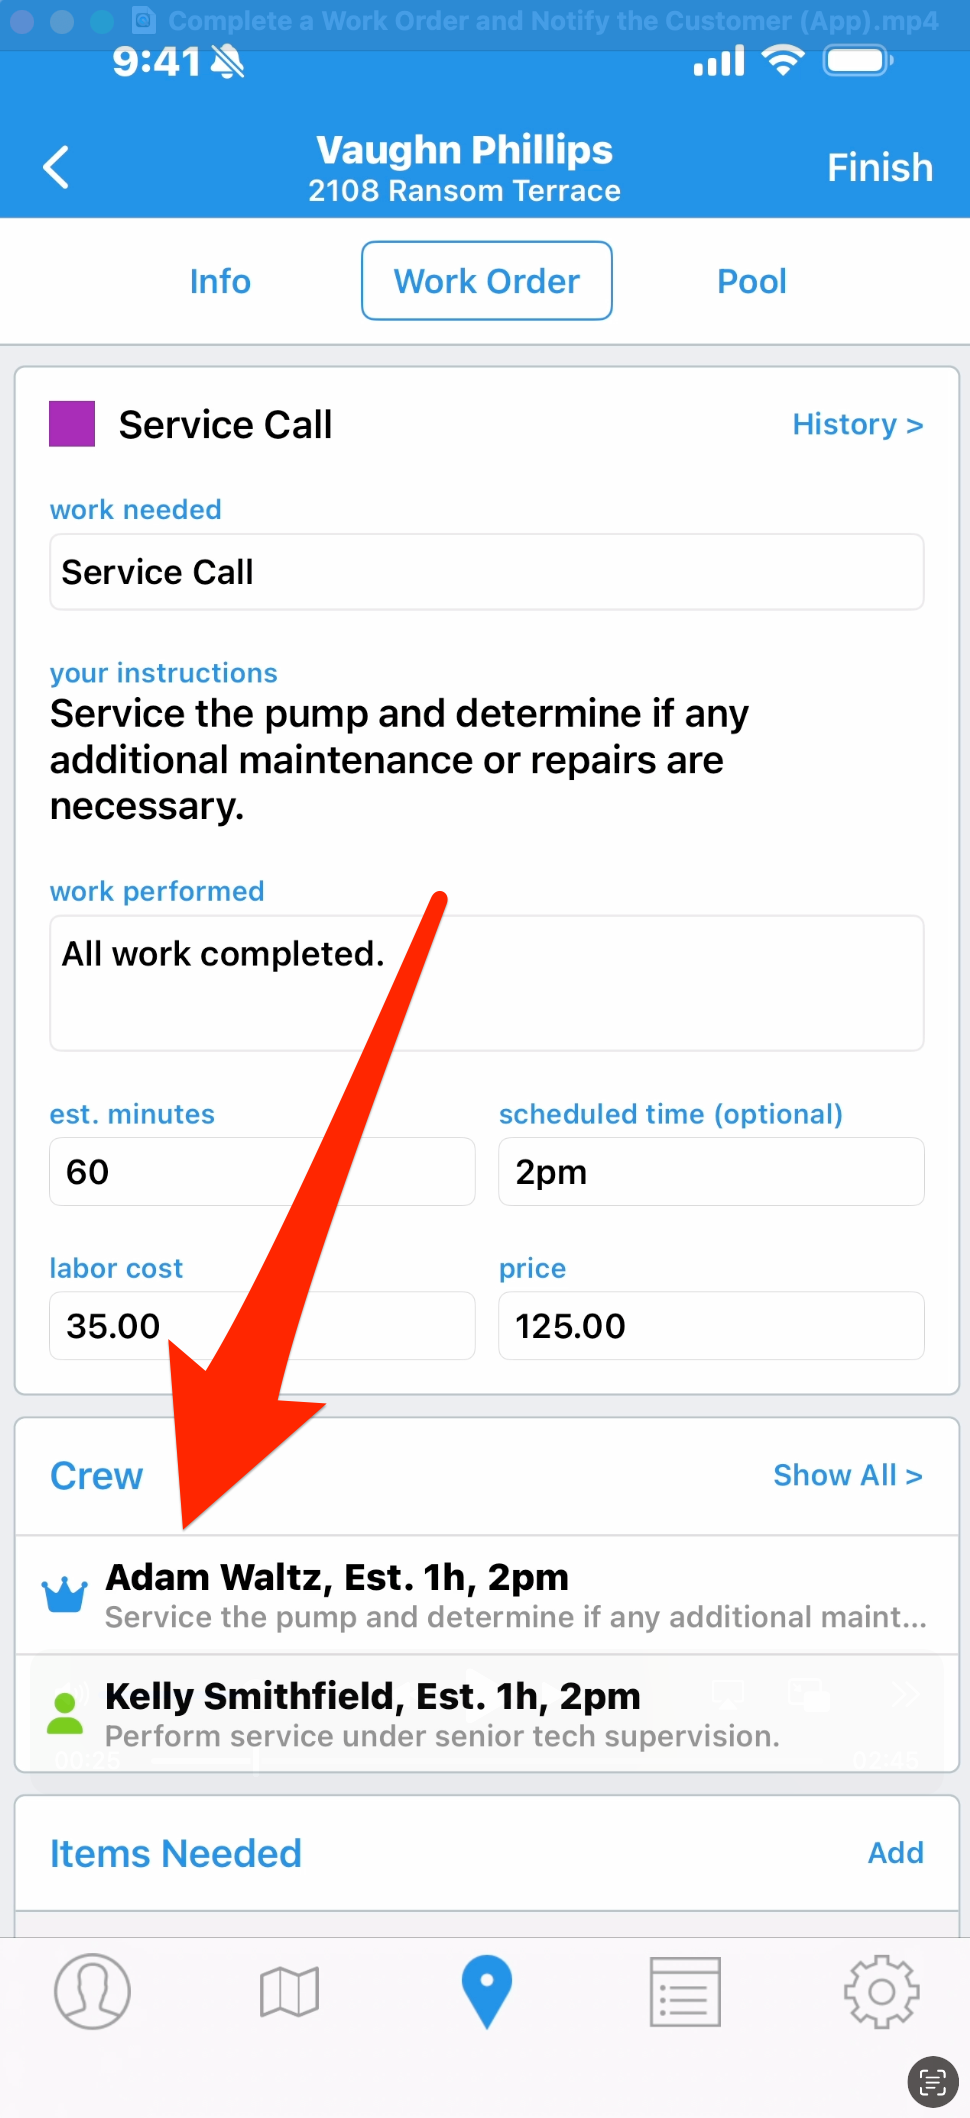
1. Go to the route screen and tap into the work order. In the top box, we have general information about the work order type, what we’re expected to do, and we can note details of what we did in the Work Performed box, which will be saved to the history for this job. We can also see an estimated duration, this account has the rights to view what the customer is paying and what we’re paying the techs to do the work, and we have an optional scheduled start time.
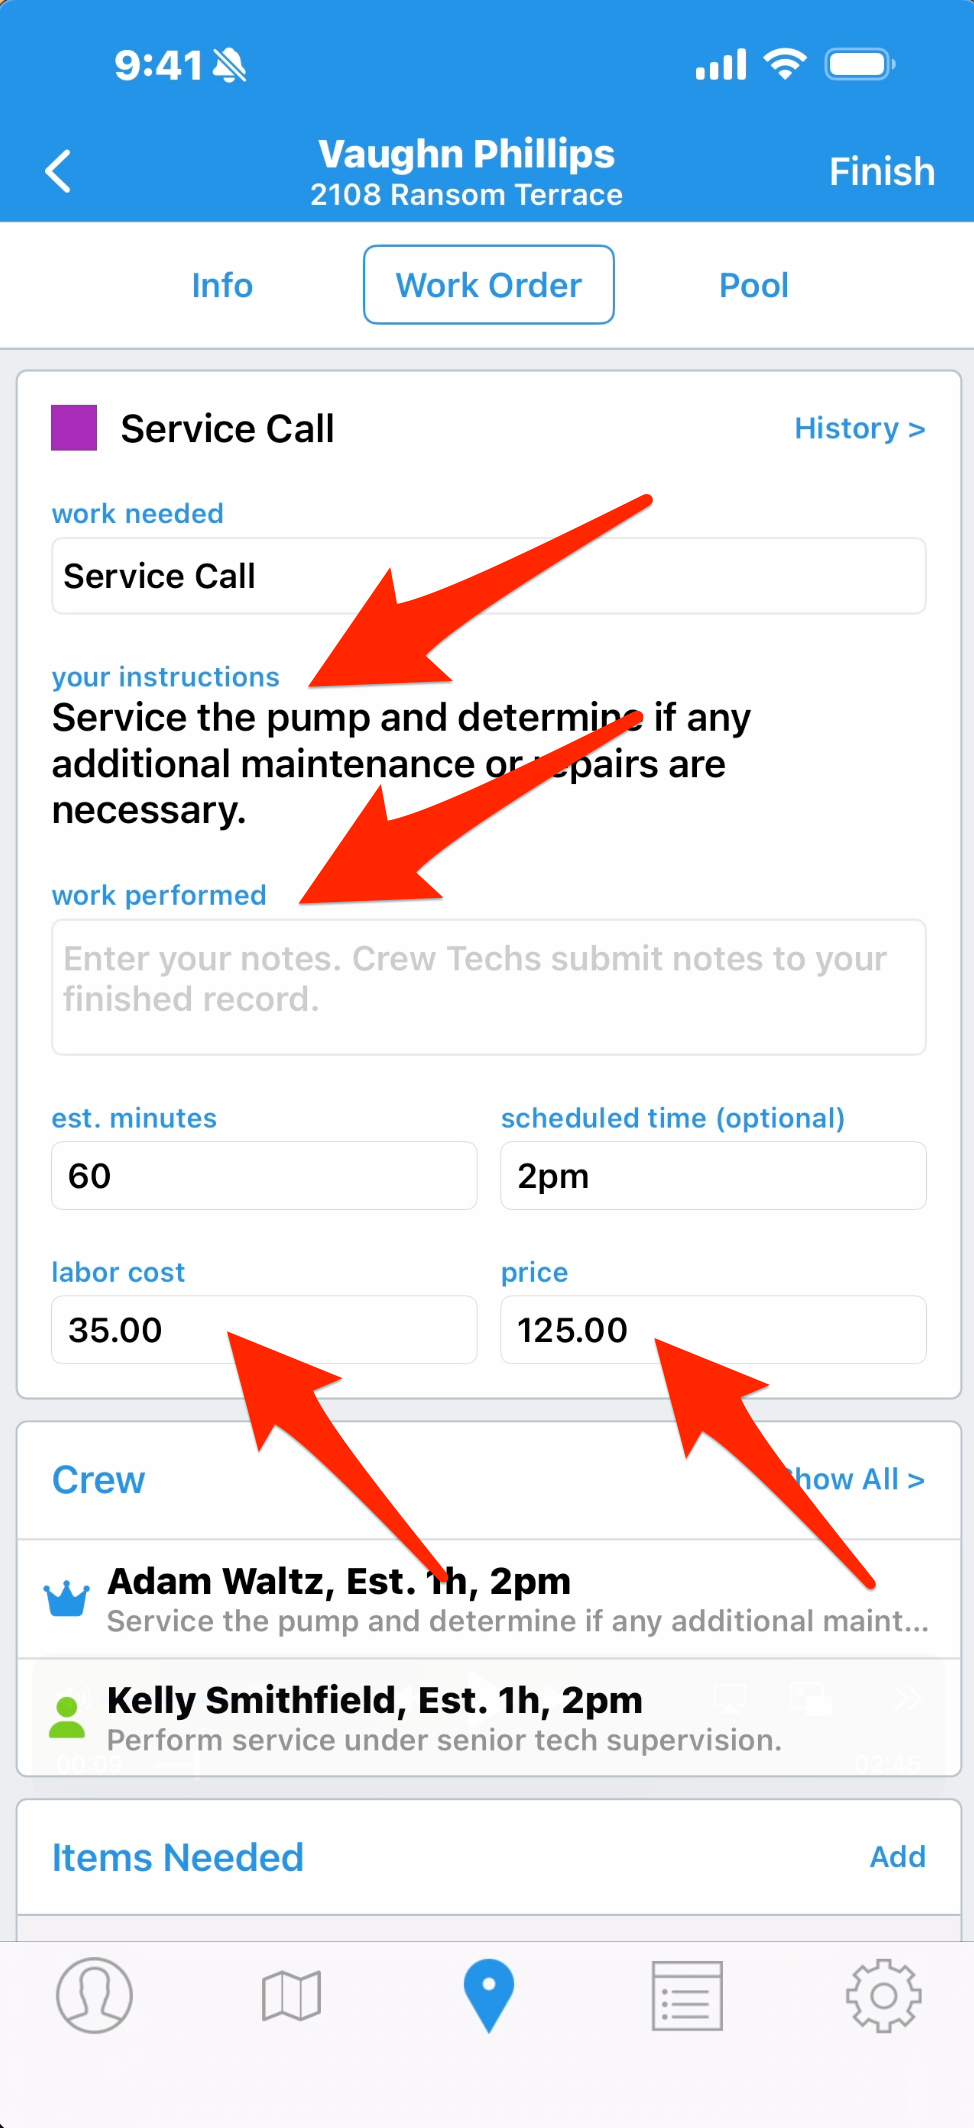
2. The crew box shows everyone assigned to this work order. You can assign a work order to one tech or multiple techs, with one tech being the lead on the job and the others acting as support. What we’re looking at now is a work order assigned to the lead tech, so we have access to everything. For a tech in a support role, this screen will look different.
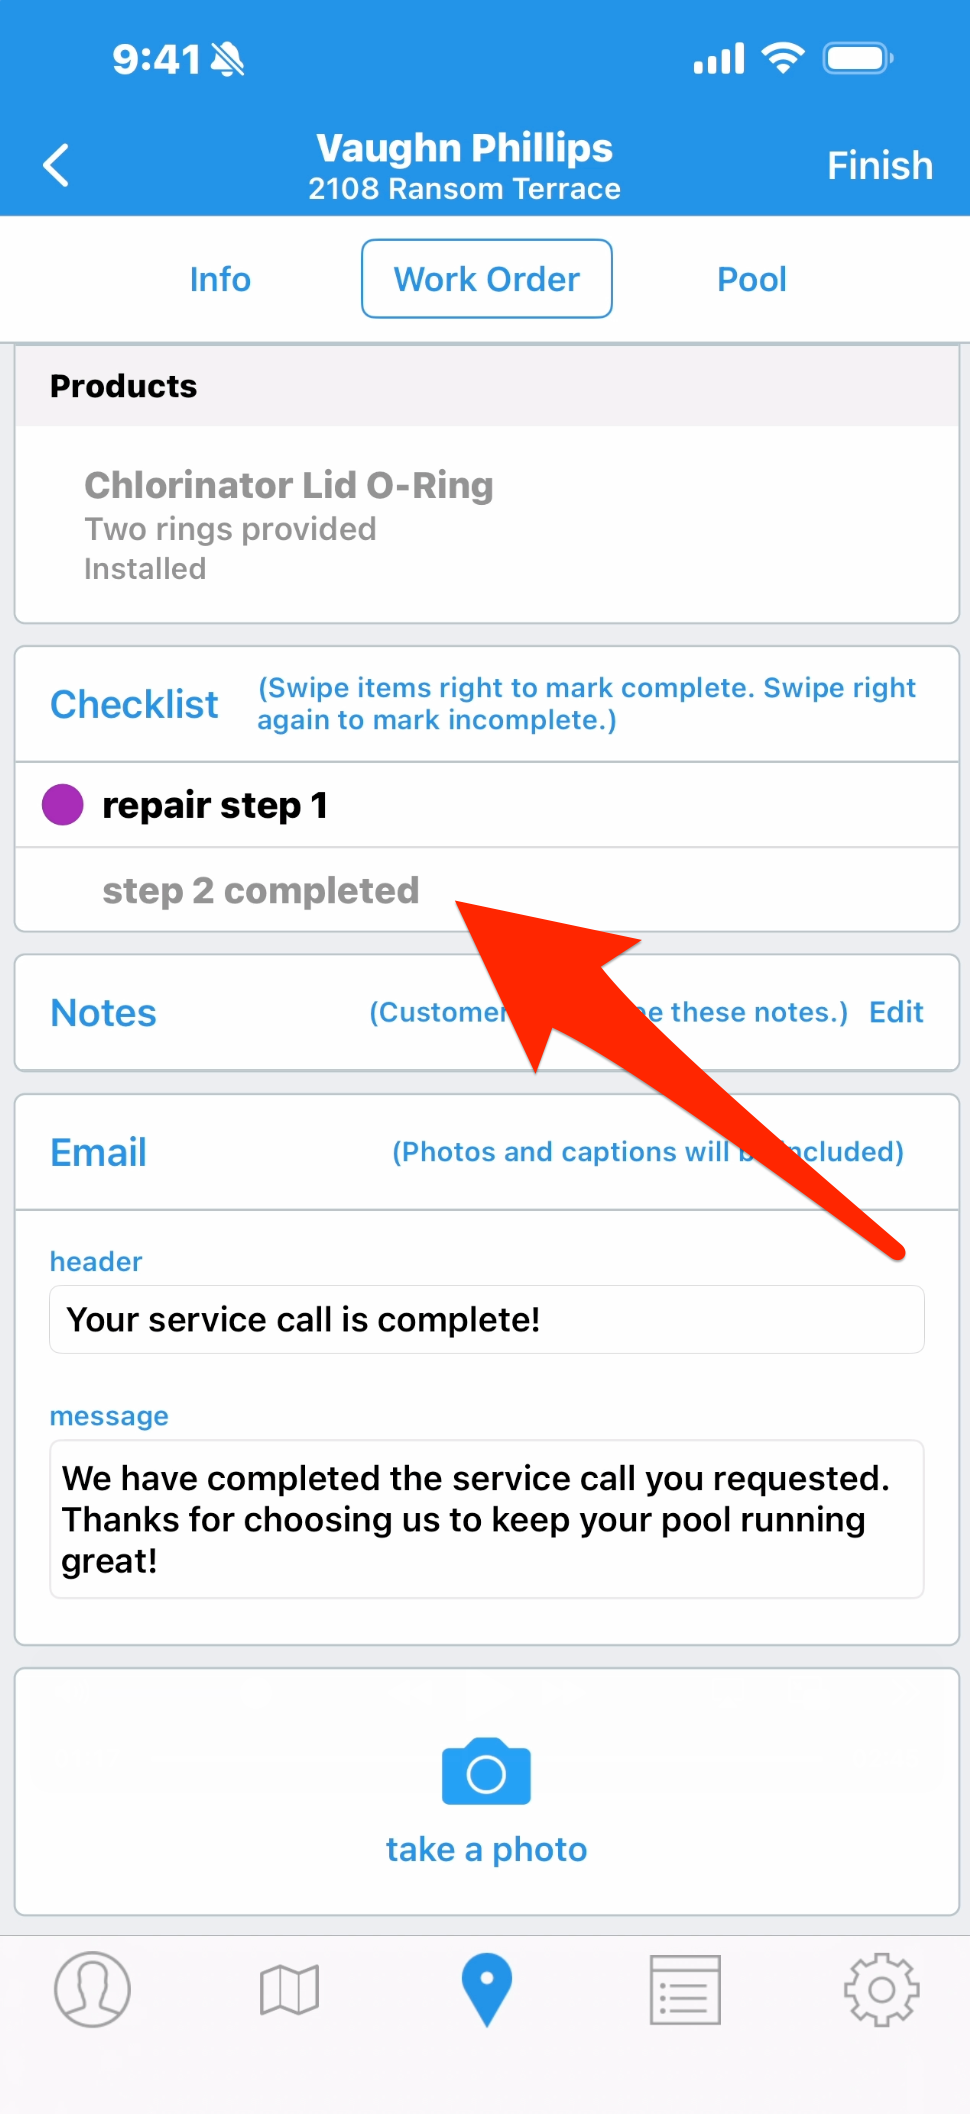
3. Next, we have a box for Items Needed, anything you’re providing to the customer as part of this job. When that part is installed or otherwise sold to customer, swipe right to mark it as installed.
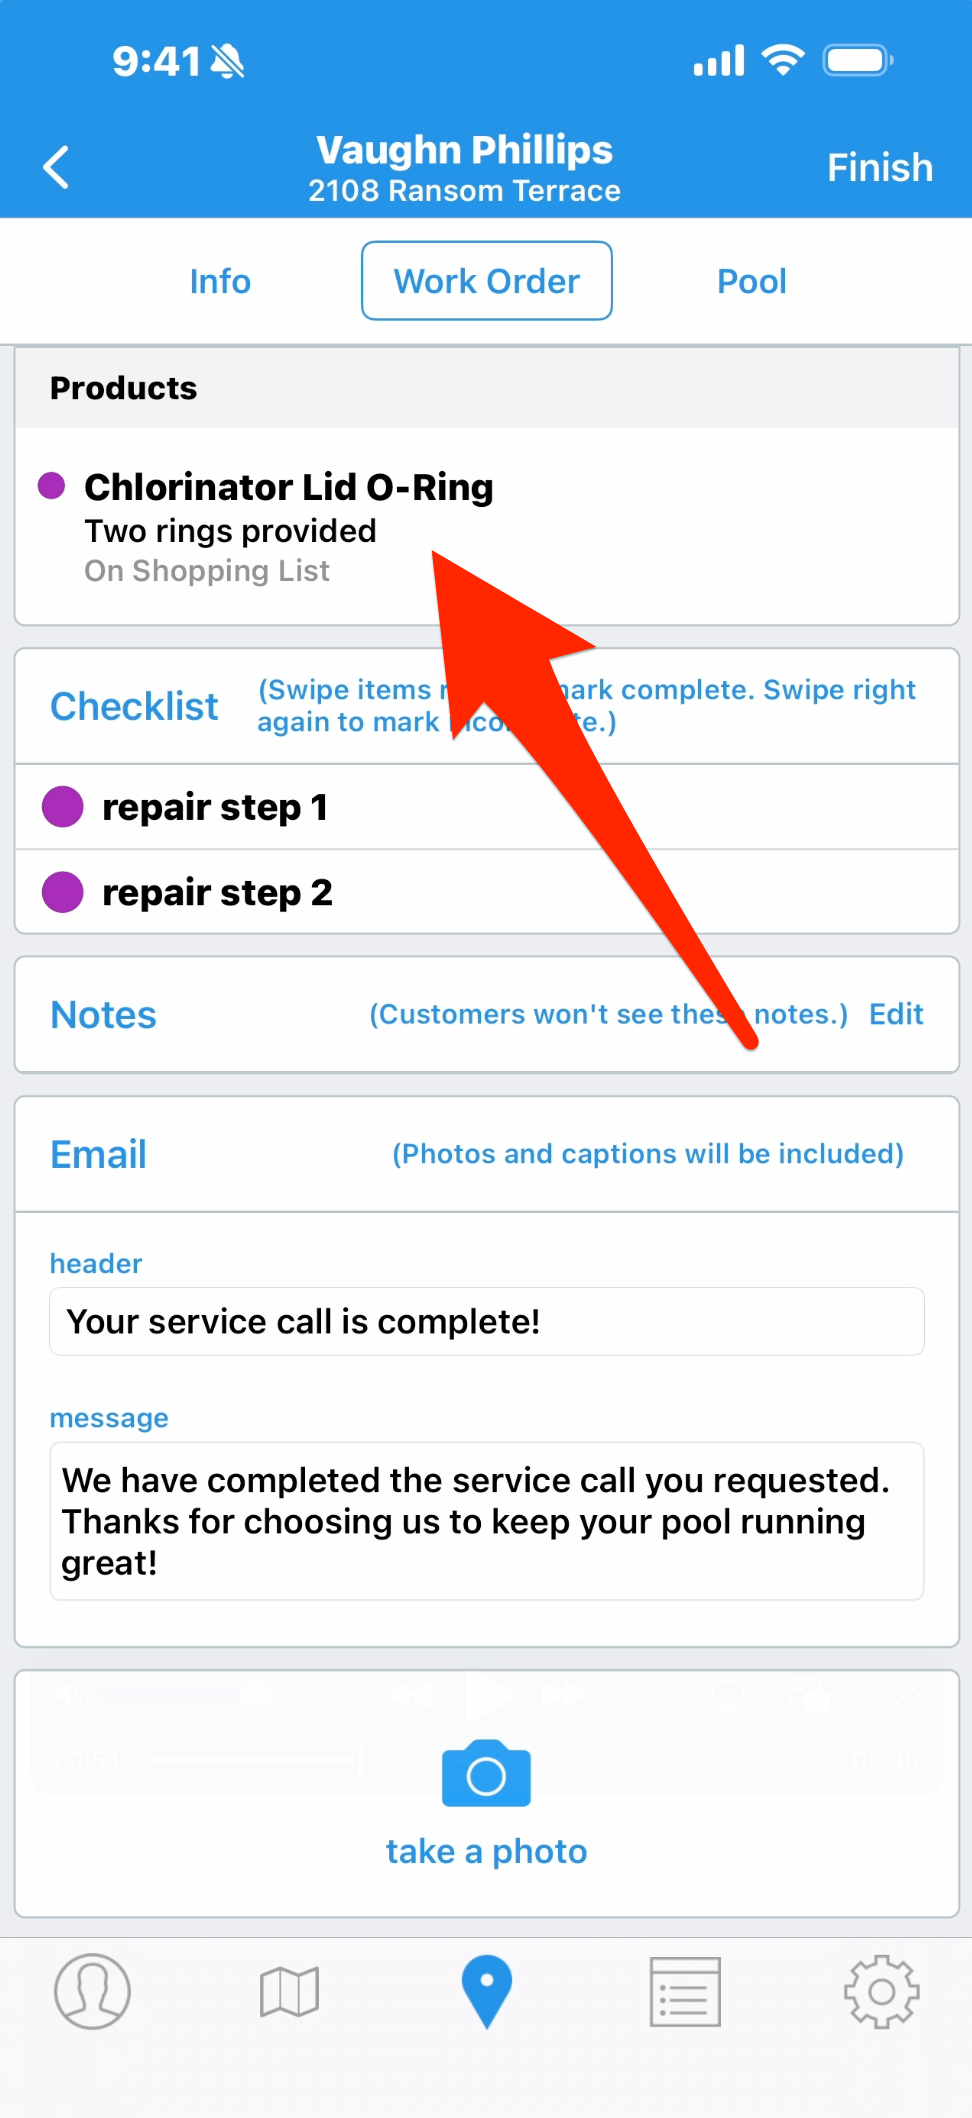
4. The Service Checklist allows to you create specific actions you want to be done as part of this service. Swipe right to mark them as finished, and these will become part of the service history.
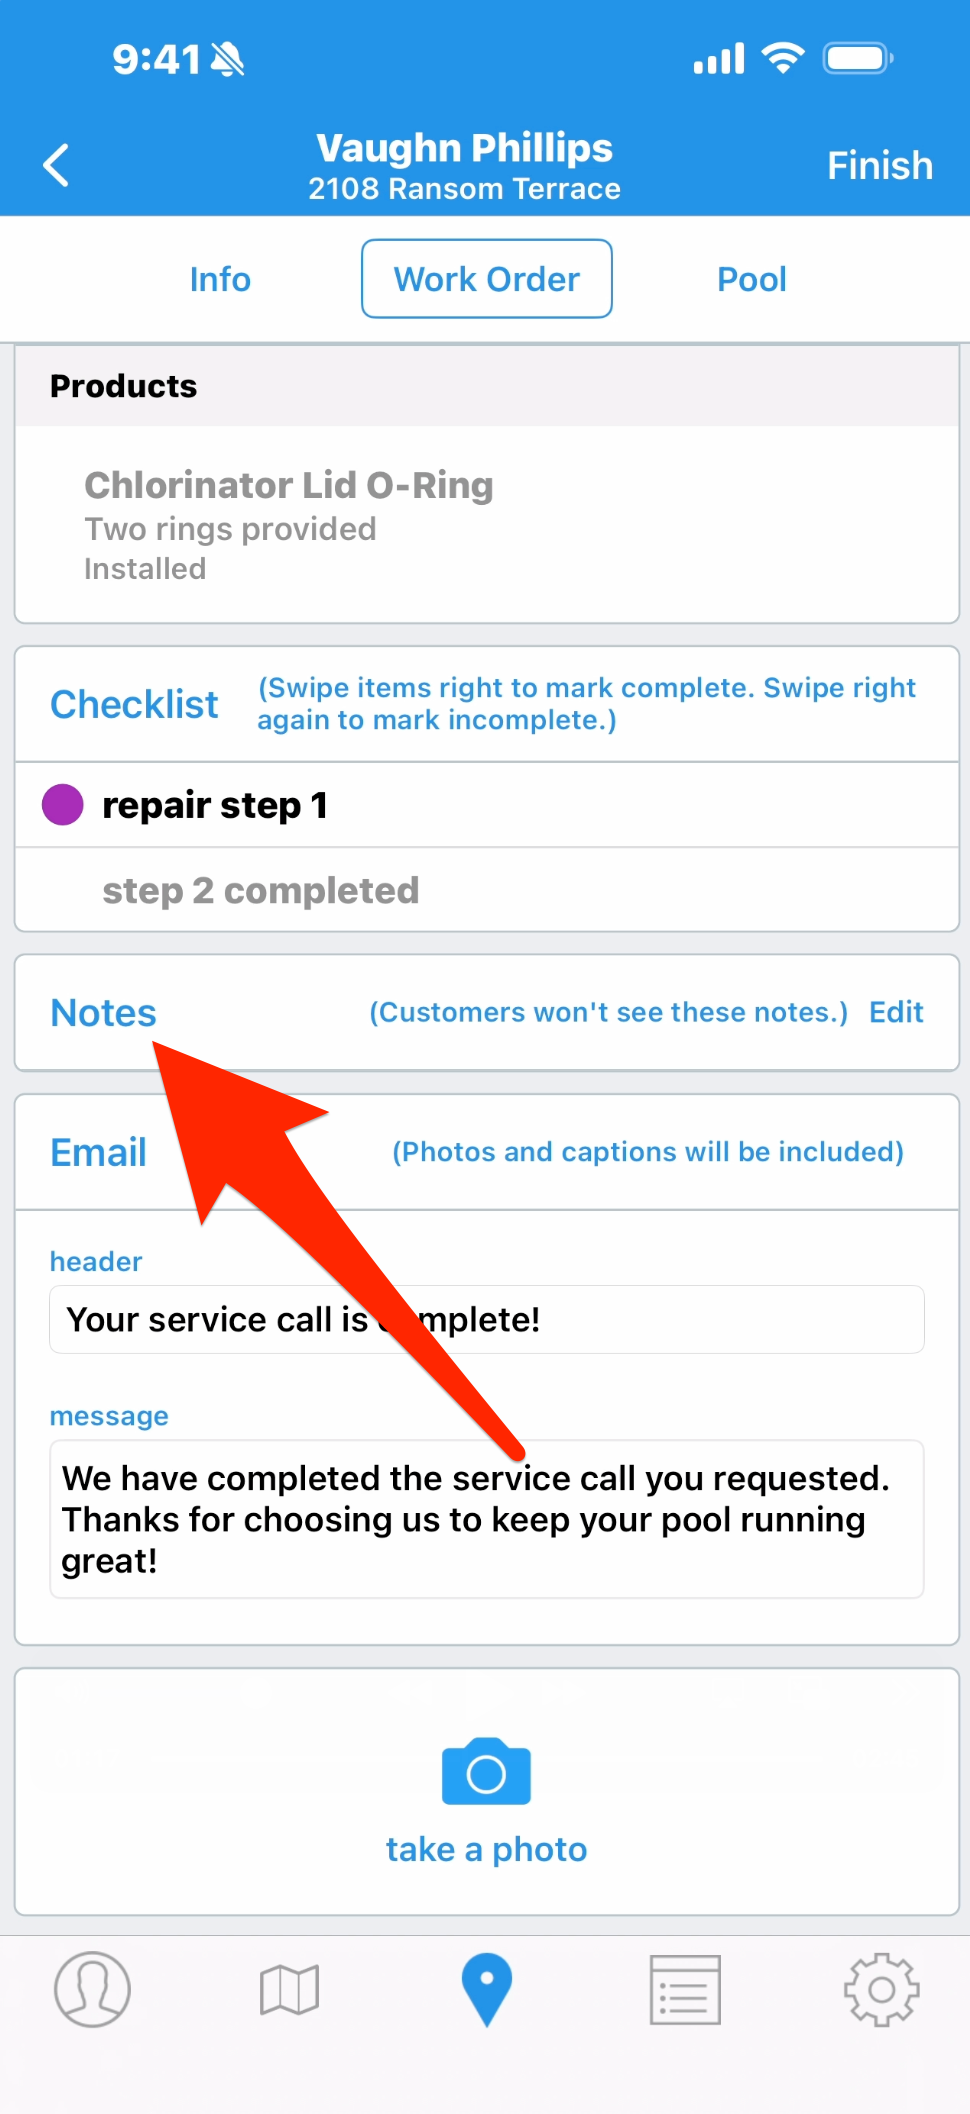
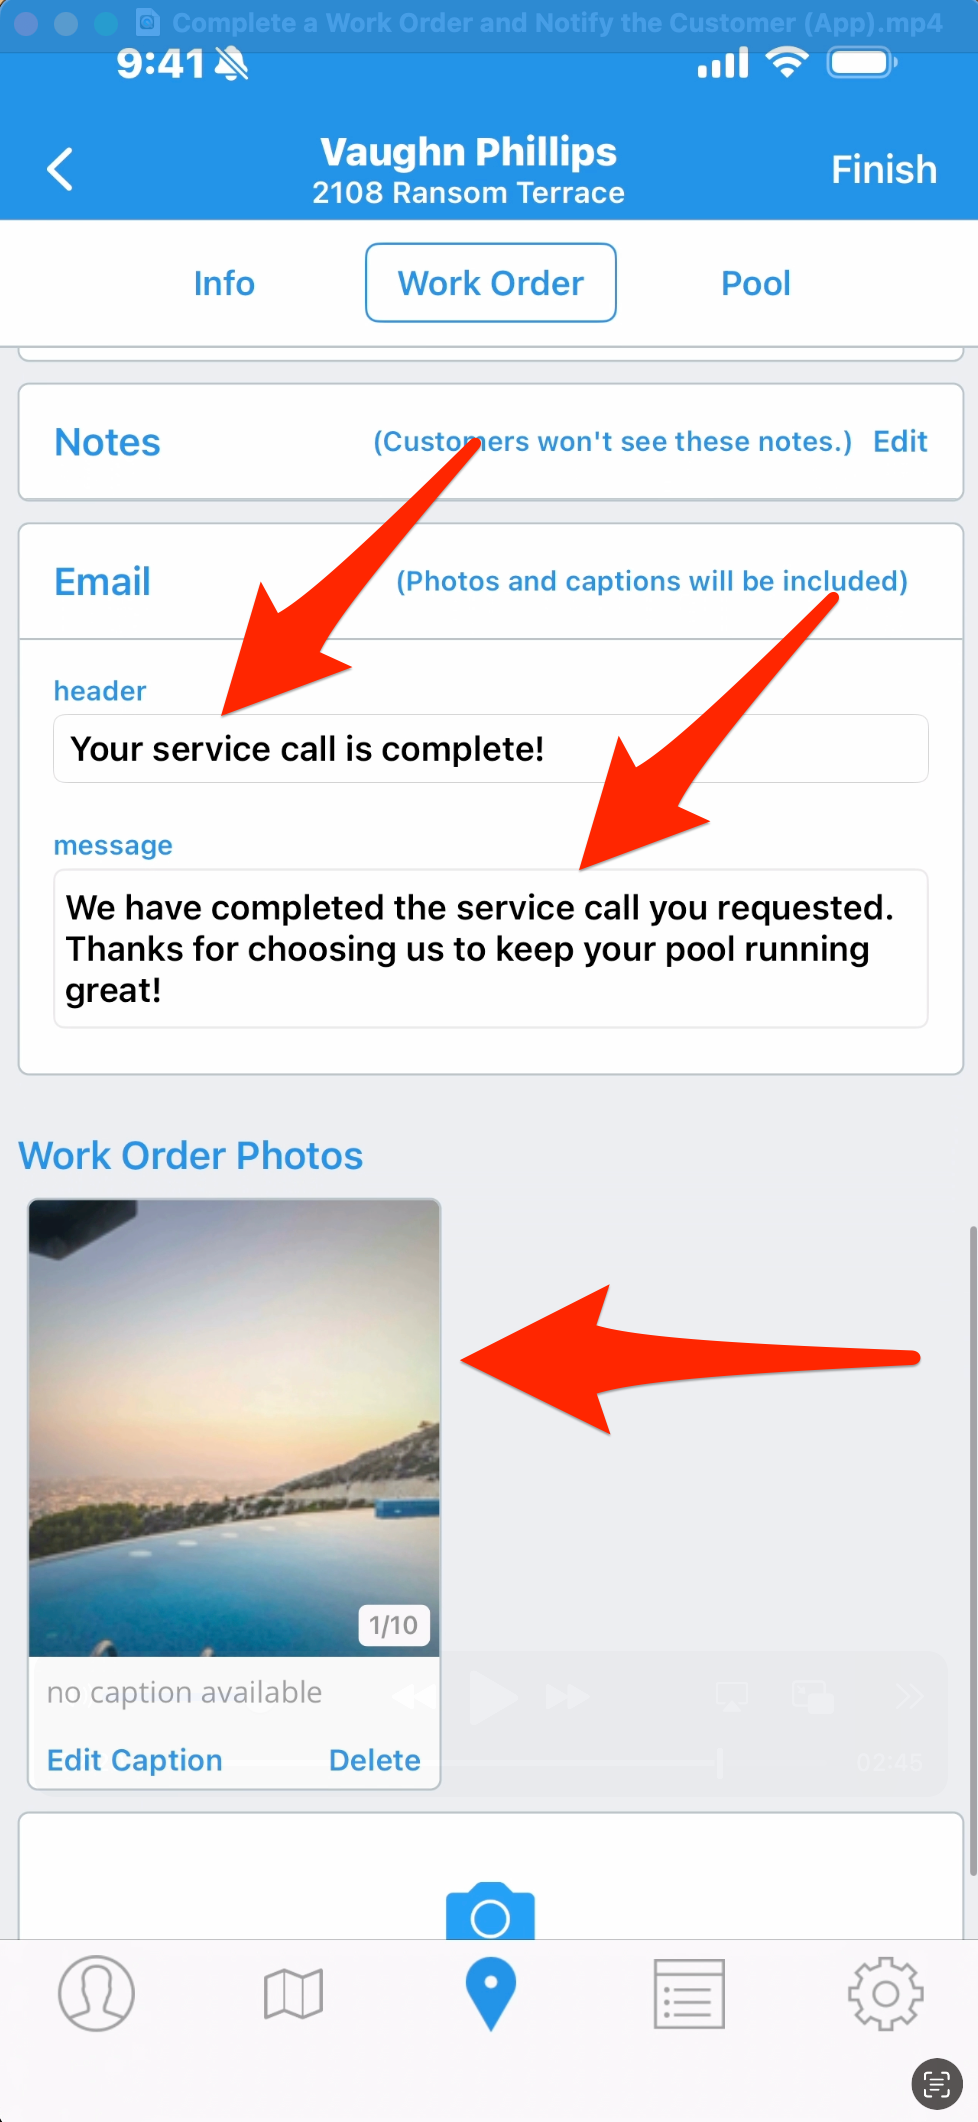
5. Notes are for internal view only. If there’s something you want to record about this service, such as an issue that you encountered during the work, you can use Notes to type it in. You can also send the note or issue to the office as an email alert.
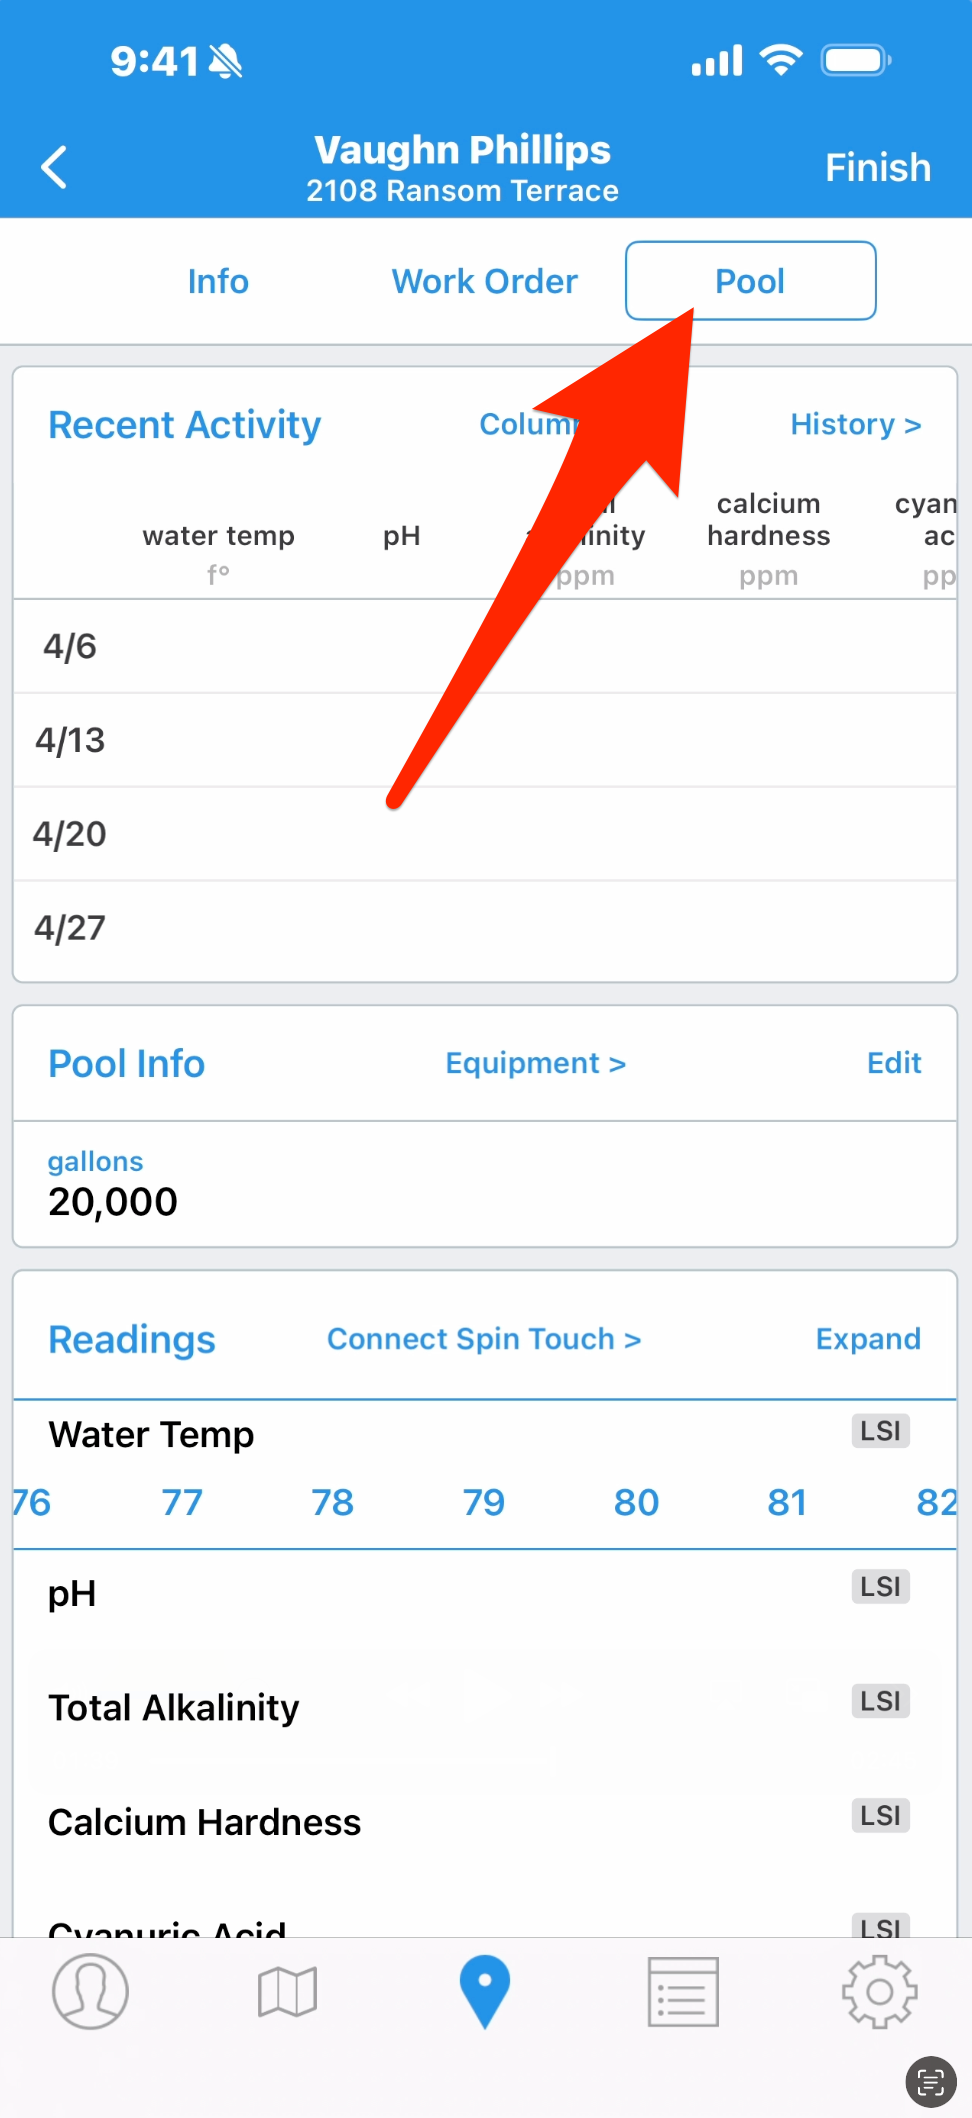
6. Next to the Work Order tab you have a tab that’s specific to this body of water. Tap that and you can view recent chemical history, pool info and equipment. If testing water chemistry or adding chemicals is part of this work order, you can also enter readings and dosages. Once finished, tap back to the Work Order tab.
7. The email box will be open if you’ve chosen to send service emails for this work order type. The header and message are populated from the default, but you can edit those for this message if needed. Lastly, you can take photos live on-site and attach them to this work order, and provide captions for each image.
When the work is done and you’re ready to complete the job and let the customer know, tap Finish in the top right corner. The work order is now part of the customer’s service history, and the email is sent automatically.
8. Here’s what that same work order looks like for the tech assigned to a support role. They get the basic information, and they can only enter their work performed. When the job’s done, they’ll tap Finish and their work will be added to the service record.